When we were children, photos existed in two formats: as prints and as slides.
The prints were stored in photo albums curated by my parents, and the slides were tucked away in their original little plastic boxes in a bookshelf. Our collective memories were safe.
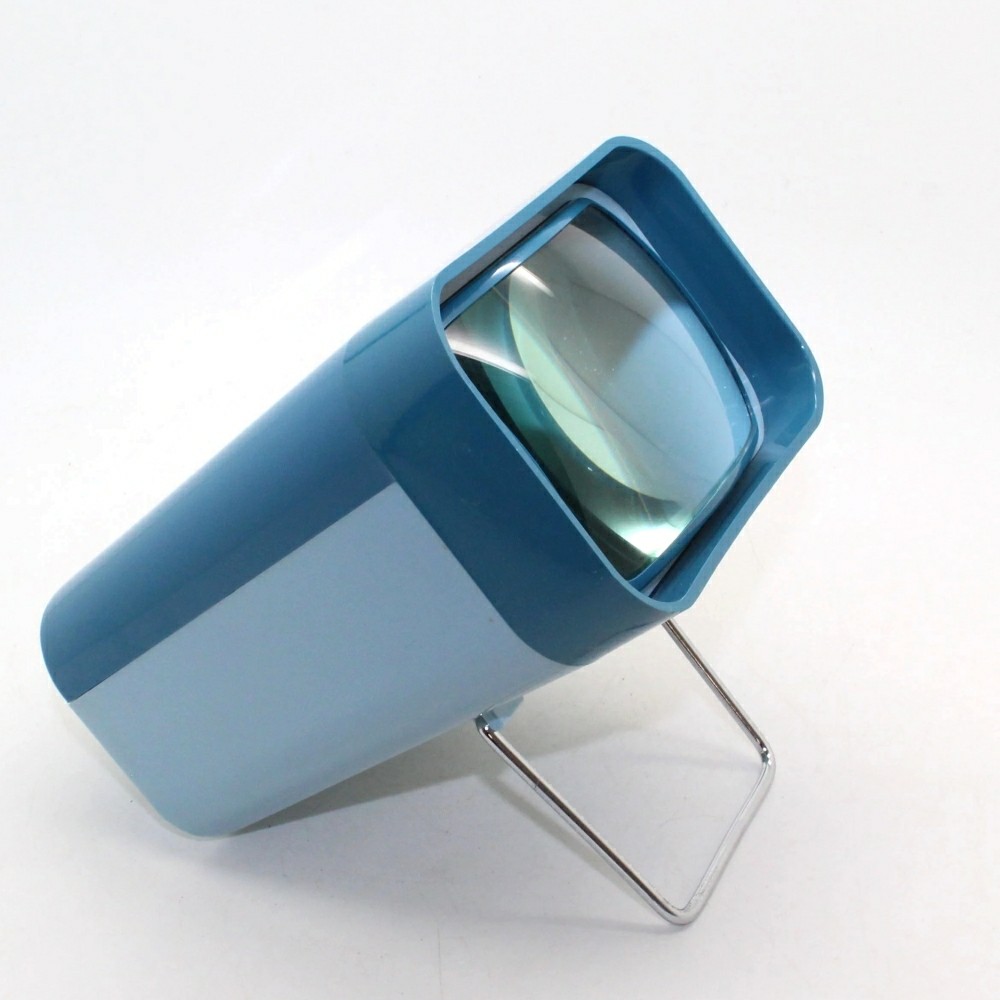
Every so often we’d find ourselves gathered around the dining room table and Dad would pull out the slides, insert one into the slide viewer and pass it around while recalling an exciting anecdote or another one of his tall tales.
The slides had completely disappeared off my radar until early 2008 when my father brought them over — along with a slide scanner he couldn’t figure out how to operate.

Once we did, the results of those scans were rather scattershot.
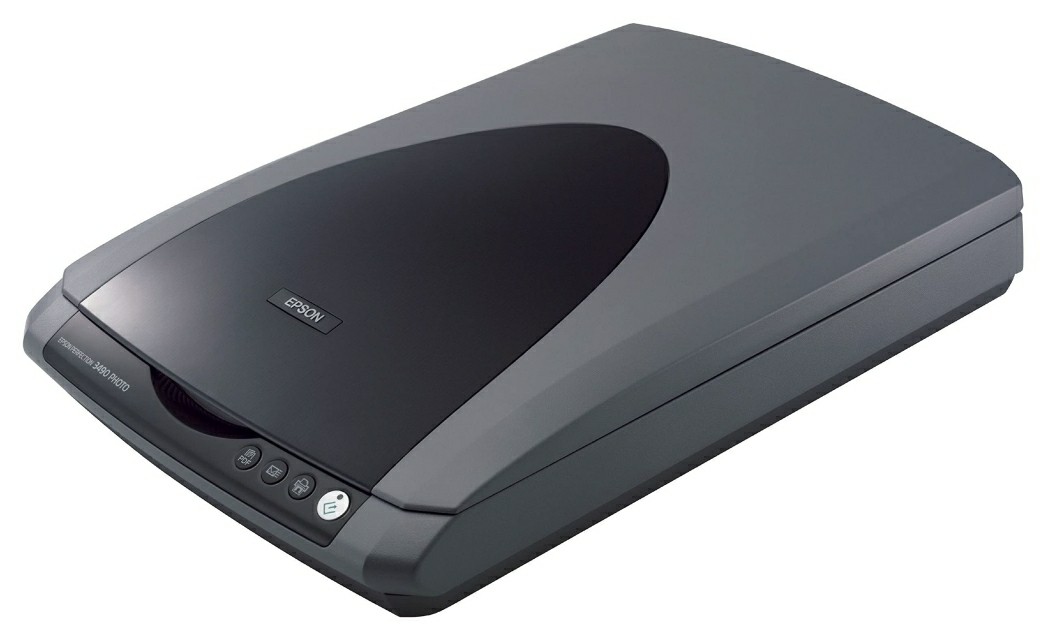
We blamed it as much on the scanner as the quality of the slides (which had always been stored properly in a dark and dry place) and some of the original shots (blurry and/or poorly exposed). Nonetheless, we did manage to salvage a few good pictures. My father was generally satisfied with the results and left the scanner as well as the slides in my care because I knew that someday I would revisit them with my trusty old Epson Perfection 3490 Photo flatbed scanner.
That day arrived in early 2020. It was time to digitise all my photos.
By then, my own analogue photo collection consisted of a multitude of prints and Polaroids, the aforementioned 35mm slides as well as the original negatives from my own basic analogue cameras.
Before launching into the project, I made the mistake of looking for inspiration and workflow ideas because, well, it’s not like I’ve never scanned anything before, right?
Advice for the grossly incompetent exists in spades; what follows are my thoughts and experiences on the matter. Brace for impact!
The first thing to consider is your target audience: Who are you digitising the photos for, and what are they going to do with them? How much time and money are you willing to invest in the project? I’d never have expected that it would span a period of over two years.
If you’re a serious hobbyist, the official family archivist, or the sole custodian of a large swathe of historically important photographic documents whose relevance may extend beyond your own lifetime or outside of your personal circle, then invest in a decent scanner and software. The Epson Perfection V850 Pro together with SilverFast score consistently good reviews. It’s the weapon of choice for photo collector Thomas Hawk while archivist Emma Bianchini has published more than 46,000 images over a period of two years using this combination.
Common sense dictates that you should always scan photos at the highest possible resolution, clean them up with Adobe Lightroom, save them in an uncompressed format (such as TIFF), store them using the 3-2-1 backup principle, and of course never destroy the originals but keep them in an airtight, dark and dry place.
While this may be sage advice to a serious archivist, it hardly applies to someone who just wants to clear out some closet space while consolidating his photos into one common format — knowing full well that nobody else will give a shit.
99.9% of your pictures just aren’t that important. If you don’t throw them out before you die, your wife’s next husband will. Including the so-called keepers. — Alan Klein
This photo, for instance, is entirely meaningless to me.

There’s absolutely no point in keeping the physical original source slide. While I remember the place from my childhood I have no idea who these people are; even this digitised copy would have no place in my collection. Ultimately, the photo is reduced to a mental cue for nobody other the person who pressed the shutter. And although that person was my father, I feel no obligation whatsoever in holding onto it in either physical or digital form.
The big question I kept coming back to was “Who is the audience for this?” and I had a hard time finding a satisfying answer. The bottom line is that I realized that I am likely the only audience, especially given that many people in the photos are long gone and many names are forgotten. – MWoods
Some of the slides digitised with the Logik scanner therefore never made it as far as the Epson scanner. Many of those that did came out rather well.

After deciding what to (re-)scan, the next big question was how to scan them or — more specifically — at what resolution? The Logik scanner topped out at about 5 megapixels.

Ideally, you’d want to digitise (read: sample) at the highest resolution your scanner supports but this comes at the cost of file size and time taken. The cost of storage today is almost negligible; it’s time that is in short supply. I didn’t measure how long scans at individual DPI/resolution settings take but I will attest that a 1200 DPI scan takes what feels like an eternity (certainly over two minutes) that ate into my workflow’s productivity.
As for the results at various settings?
Well, here’s a comparison of four scans of the same slide taken at 400 DPI, 600 DPI, 800 DPI, and my scanner’s maximum of 2400 DPI (Resulting resolutions are 1600 × 2400-, 2400 × 3600-, 3200 × 4800- and 14400 × 9600 pixels respectively). To fit them into a single image for the sake of this article they were resized to 320 × 480 pixels and, lo and behold, they appear identical!

What this demonstrates is that, because it’s unlikely that I will ever view these photos on a 16K device, scanning time certainly did influence my default setting for each slide. Chances are that you, the reader, are viewing this on a smartphone right now. As for potentially losing any detail from the original photo, here’s a comparison of the same section of the four examples at 1:1 zoom (I didn’t make a 1200 DPI scan of this slide).

400 DPI (2400 × 1600) therefore became my default scanning resolution because, really, there isn’t a lot of detail in many of my father’s blurry, over/underexposed family snaps. It’s “good enough” and strikes a balance between quality and effort. Some photos, however, were indeed worthy of a re-scan at much higher resolution; it’s probably no coincidence that most of those were on Kodachrome film.
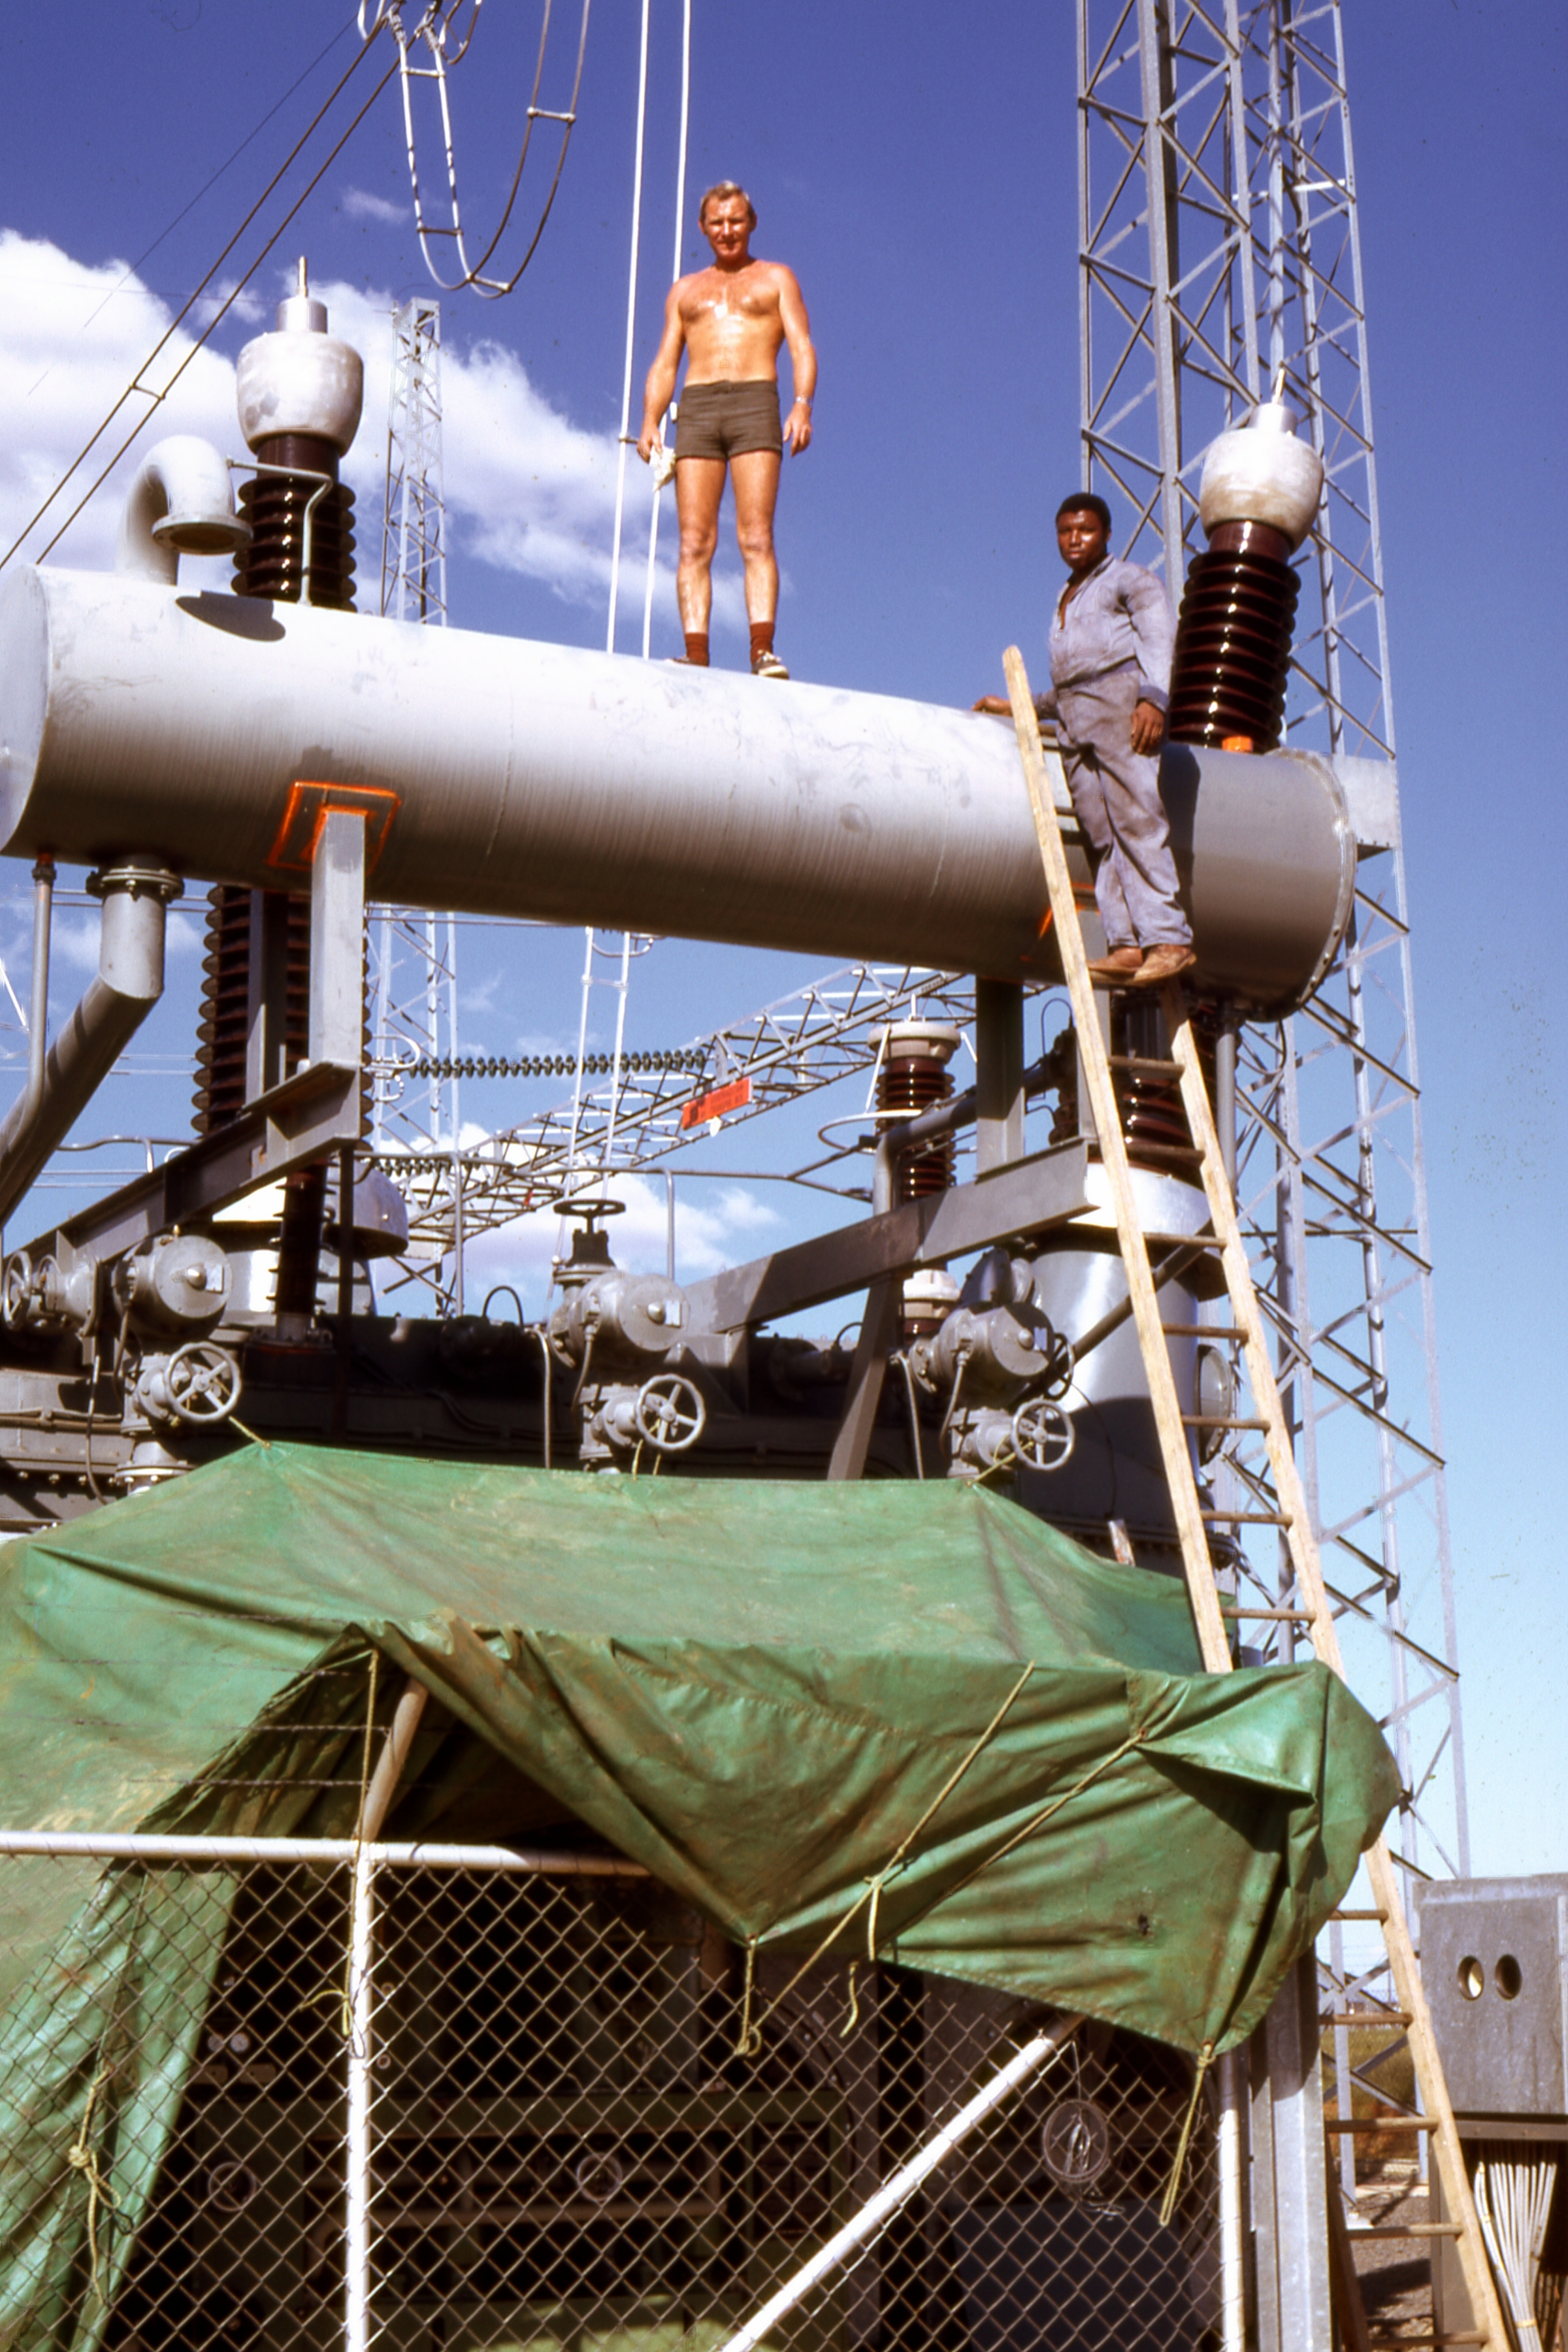
Since you’re burning to see the photo in full and unfettered 600 DPI glory, click here to see Lothar and Zacharias on a 400kV ABB shunt reactor pose for my father’s Topcon camera in Dealesville, Orange Free State, South Africa during the summer of ’73.
The same formula was used on the negatives from my two basic analogue cameras.
With some exceptions, I was actually disappointed in their quality compared to the slides but this may have been on account of the superior nature of diapositives and, surely, the brand/type of film used.
Here, for instance, is one of my favourites.

The negative was scanned at 1200 DPI, resulting in an image of 3600 × 2400 px that occupies some 5.5MB of disk space (as a .jpg at 0% compression). What you’re seeing on this page, though, is a resized (1280 × 850 px) and compressed (90%) version — which is adequate for a blog post.
I say again: consider the quality of the source material and what your likely uses of the scan may be. In fact, this 1280 × 850 px extract of the original scan starts to show the limitations of the source negative.

Since there isn’t that much detail to begin with, there’s no need for extreme resolution and the associated time it takes to scan (especially when there’s a sizeable batch). Test your equipment’s limitations beforehand, and experiment with different settings before settling on a workflow for bulk operations.
Drivers, in my case, were another issue. To get the best performance out of my old Epson, I ended up scanning slides and negatives under Windows XP (although photo prints and documents scan perfectly fine under Windows 10).
Again, consider your source material. In the example below it is the colours of the original file (at left, taken with a 1.3MP digital camera at 960 × 1280) that differ significantly from a 400 DPI scan of a professional print of the same image (middle). A colour-corrected version of the same original file (right) looks about the most realistic.

What it ultimately comes down to is the quality and importance of each type of source material, what you plan on doing with it, where you expect to be viewing it in years to come, and the amount of money and time you’re prepared to invest in the project.
The only one-size-fits-all solution is expensive and labourious. Your mileage will vary.
Having said all that, I’m holding on to one small box of the best of the best original slides in case I ever want to revisit them.


